Ventilation is more important than raw temperature. Never seal a coop. Aim for continuous, high-level, draft-free airflow. If you see condensation, you need more vent.
Quick answer
- Goal
- Keep the coop dry and odour-free: aim for ≤ 70% RH at dawn and zero ammonia smell (no heaters required).
- Exhaust
- Put your main vent high (ridge slot or top third of walls). Keep it sheltered from rain and always open.
- Intake
- Add a low, leeward opening that’s baffled upward so air turns skywards, not across the roost.
- Roosts
- Perches sit below the exhaust and away from intakes. Avoid vents directly opposite at the same height (prevents draughts).
- Measure
- Use a £6 hygrometer at head height: compare lights-out vs dawn. Rising RH overnight = trapped moisture.
- Targets
- RH 50–70% most nights; no ammonia detectable by smell. If high, open the high vent a bit more.
- Starter
- Begin with high-level exhaust ≈ 1–2% of floor area as free opening, then tune by RH & smell over three wet nights.
- Storms
- Exhaust stays open. If you must throttle anything in wild winds, throttle the intake first; hood/ridge-cap the exhaust.
- Time
- About 2 hours (drill/hole-saw, vents, and 6 mm mesh to rodent-proof openings).
Targets based on small-coop best practice and UK winter care. See BHWT winter advice and a practical ventilation explainer on moisture & draughts.
Last updated: 9 September 2025 (pre‑winter check).
It’s a wet, breath‑fogging morning. You open the coop and that damp, slightly ammoniac smell rolls out. The birds look fine, but the perches are clammy and the plastic walls are beading. This isn’t a heating problem; it’s a moisture problem. In a UK winter, wet beats cold. You need to give that warm, moist air somewhere to go. Make sure you don’t create a draught across the roost (often written “draft” on US sites).
This is a practical chicken coop ventilation UK guide. Place vents high. Keep roosts calm. Tune ventilation by Relative Humidity (RH). No heat lamps required.
If you are looking for a coop and wondering what size to get, try our Chicken Coop Size Calculator.
Do this today (2 steps):
- Mount a hygrometer at head height tonight; note RH at lights‑out and at dawn.
- Mark and cut/extend a high exhaust slot tomorrow; add a leeward, baffled intake.
Why UK coops get wet in winter (and why heat isn’t the answer)
A coop is a small box packed with living radiators. Hens exhale water vapour and give off heat; droppings release ammonia; damp bedding adds more moisture. On still, rainy nights typical in the UK, that vapour condenses on cool walls and roofs. Add a sealed plastic shell and you’ve built a mini‑greenhouse; perfect for condensation.
Heat lamps don’t cure this; they often make condensation worse by raising absolute humidity. Controlled air exchange is effective. Take stale, moist air out from high up. Let fresh, drier air drift in lower down. Do this while keeping the roost calm. Commercial poultry sheds follow the same principle at larger scale: ventilation removes moisture, CO₂ and ammonia; uncontrolled draughts chill birds.
A final winter reminder from the British Hen Welfare Trust: insulate from wind and rain by cladding or covers if you must. However, you should not block vents. Ventilation remains essential even in cold snaps.
Start here (tonight):
• Put a hygrometer at roost height.
• Sniff at lights‑out and at dawn.
• Do the incense smoke test tomorrow at dusk.
Target: dawn RH ≤ ~70%; zero ammonia by smell.
Diagnose first: quick checks with your nose, a £6 hygrometer and an incense stick
Before cutting holes, take a short snapshot.
Start with your senses. At lights‑out, sniff for ammonia; at dawn, sniff again. Your target is no ammonia odour at either point. Next, pop a small digital hygrometer in the coop at head height while roosts are occupied. Aim to keep relative humidity under ~70% most nights. After a few days, you’ll see your baseline.
Finally, do an incense smoke test on a still evening: light an incense/joss‑stick safely at roost height and watch the smoke. Any visible movement straight across the perch means a draught.
If RH climbs through the night and the smell is stronger at dawn, moisture is trapped. If the smoke wavers at perch height, your existing holes are creating a cross‑current where the birds sleep.
Micro‑commitment: Place a hygrometer tonight; note RH at lights‑out and at dawn for three nights.
Why these thresholds? Backyard keepers rarely measure parts‑per‑million, so we use smell as a proxy for ammonia (welfare guidance caps house ammonia roughly around 20 ppm), but if you can smell it, ventilation or litter is failing. For humidity, a 50–70% RH operating band keeps surfaces dry without over‑ventilating in cold weather.
Reference note: UK welfare guidance keeps house ammonia around ~20 ppm; backyard keepers should treat any detectable smell as a fail. See BHWT winter care for insulating without blocking vents.

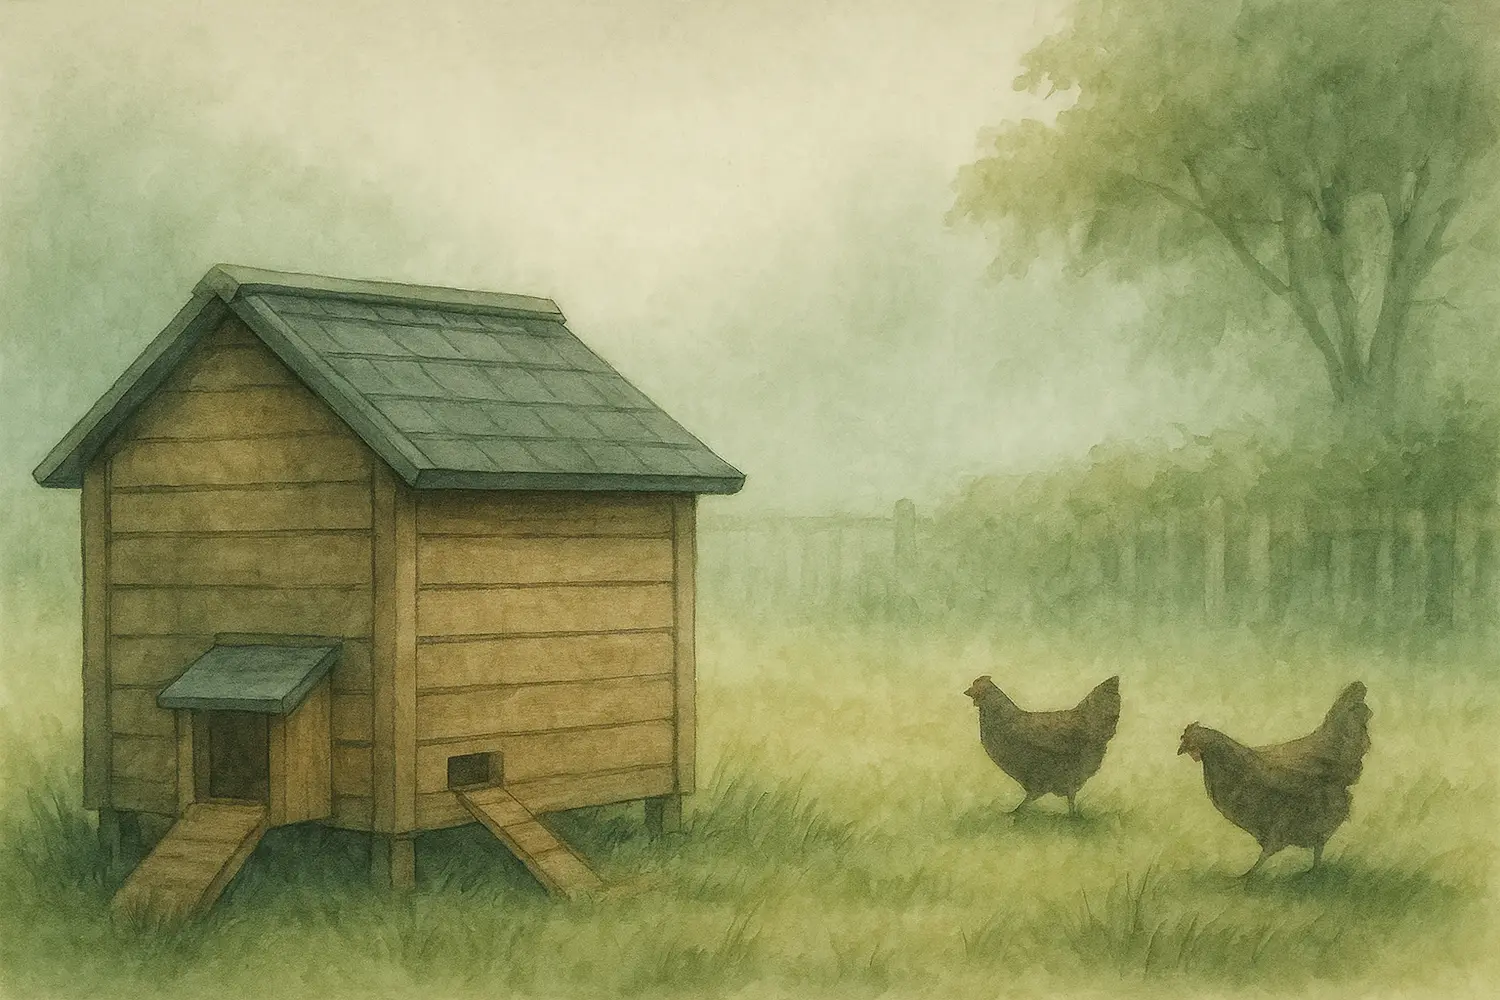
Design rules that work: high exhausts, sheltered intakes, safe roost height
Think chimney, not wind tunnel. Warm, moist air rises; help it leave without letting wind blast in.
Keep your exhaust high, near the roof apex or along the top third of the walls. A continuous ridge slot or a pair of top‑side grills works well. Set your intake lower. Position it on the leeward side, which is the side most often out of the wind. Alternatively, baffle it so the incoming air turns upward before reaching the birds. Perform a quick local check. Look up your Met Office wind rose for the nearest station. Then put the intake on the usual leeward face. Aim for no opposite vents at the same height; that creates a straight shot of air across the roost.
Place perches so hen backs sit below the exhaust level and well above any low intake. As you enlarge openings over weeks, monitor your instrumentation. You will notice RH trends down. Surfaces feel dry by morning. The ammonia smell disappears. Numbers vary by coop size and flock. Rather than chasing a fixed cm² per bird, enlarge until your RH stabilises and odour goes to zero, then stop. Why no cm²‑per‑bird rule? Small coops vary so much that moisture control beats head‑count formulas; use RH‑and‑smell feedback as your controller. Begin by aiming for ~1–2% of coop floor area as high‑level exhaust. Then, adjust by RH and smell over three wet nights.
Myth vs Reality. Myth: “More warmth = less condensation.” Reality: Heating raises the air’s moisture capacity. Without a high exit, that extra vapour still condenses on cool walls. Vent first; don’t chase heat.

Retrofits that take an afternoon (wood & plastic coops)
Most backyard coops only need two moves: lift the exhaust and shelter the intake.
Wooden coops. Add a continuous ridge slot (e.g., a 10–15 mm gap along the ridge under a weather cap) or a pair of high louvred vents on the gable ends. Keep soffit vents small and sheltered with mesh; staple a simple baffle inside so incoming air deflects upwards. If your perches sit too high, lower them by a few centimetres so backs are out of any flow. Screen all vents with 6 mm galvanised mesh (≈¼″ hardware cloth) to keep rodents out while preserving airflow.
Plastic coops. These excel at hygiene but can sweat if sealed. Add top‑side grill vents high on the walls or extend any existing “letterbox” slots. If design allows, cut a narrow apex slot under a rain‑shed cover. For intake, drill a series of low, leeward holes and back them with a plastic baffle (a cut‑down feed scoop works) to point air skywards. Keep bedding dry and avoid wrapping the whole shell in covers that block those new vents. Do not tape over manufacturer vents in storms; baffle or hood them, but keep them open.
Set‑and‑check rhythm. Make one change, then measure for 2–3 wet nights. If RH still peaks and surfaces stay clammy, open the exhaust a touch more before enlarging the intake. You’re done when: dawn RH ≤ ~70%, surfaces are dry, and there’s no ammonia odour for three consecutive wet mornings.
MGJ case study (Zone 8a, homemade wooden coop): We had an old wooden homemade coop which was hard to clean and didn’t have enough ventilation with condensation on the inside. The coop had a strong smell of ammonia and the hens were reluctant to use the coop. We upgraded to a Nestera Coop with built in ventilation and made from plastic. Combining easy cleaning with good ventilation prevented the ammonia smell and the chickens are far happier and happy in their coop. No extra heat used.
Looking at equipment for your hens to keep them happy and healthy, check out our guide to Essential Equipment, our Spring Chicken Health Check and our review on the Nestera Aspen Chicken Coop.
Troubleshooting: frosted combs, wet perches, ammonia smell
Winter throws mixed signals. Use symptoms to choose the next tweak.
| Symptom | Probable cause | Next move |
|---|---|---|
| Frosted tips on combs | Draught at roost height | Raise/relocate exhaust; baffle or move intake; confirm the incense smoke test shows calm air at perch level. |
| Wet perches or walls in morning | Exhaust too small/high air trapped | Open or lengthen high‑level exhaust; keep intake modest; re‑check RH trend. |
| Ammonia smell (any time) | Poor air exchange and/or wet litter | Increase exhaust, refresh bedding, ensure droppings trays emptied; aim for zero odour at dawn. |
| Dusty, dry air but cold birds | Over‑ventilated at roost height | Reduce cross‑flow at perch height; keep vents offset in height; add baffles. |
| Condensation worse in storms | Intake on windward side | Shift intake to leeward or add an internal baffle; keep exhaust protected from direct rain. |
Delight moment: The day you stop smelling “chicken” in the coop is the day your ventilation is doing its job.
FAQs: ventilation in storms, plastic vs wood, how much opening is ‘enough’
How do you ventilate a chicken coop in winter UK?
Use height separation: a high exhaust (ridge slot or top‑side grills) to let warm, moist air out, plus a low, leeward intake that’s baffled upward. Keep perches below the exhaust and avoid vents directly opposite at the same height.
Where should vents be placed on a chicken coop?
Put the exhaust high (apex/top third of walls) and the intake low/leeward. Do not place vents opposite each other at the same height; that creates a draught across the roost.
How to stop condensation in a plastic chicken coop?
Create a true high exit (apex slot or top‑side grills), keep bedding dry, and avoid full covers that seal the shell. Plastic surfaces show beads quickly; that’s your signal to open the high exit further.
How much vent opening do I need?
Enough to remove moisture steadily overnight. Start with a modest high exhaust and small, leeward intake. If dawn RH stays above ~70% or you catch ammonia, enlarge the high opening first. Stop when RH is steady and the smell is gone; there isn’t one cm²‑per‑bird rule for small coops.
Won’t vents make my birds cold?
Not if you keep moving air above their backs and away from roost height. Exhausts belong high; intakes should be low and/or baffled so air turns upward before it diffuses through the coop.
Should I insulate?
Wind‑ and rain‑proofing the outside can help, but do not block vents. UK advice from BHWT is clear: insulation is fine so long as ventilation remains open and effective; birds handle cold better than damp.
What about storms?
Ensure your intake is leeward or baffled. Keep the exhaust protected with a hood or ridge cap so rain can’t blow in, but leave it open; moisture removal matters most on wild nights. Keep the exhaust always open; if you must throttle anything in extreme wind, throttle the intake first.
New to backyard flocks? See our plain‑English guide to UK chicken registration rules.
Storm-night micro-checklist
- Intake is leeward or baffled
- Exhaust has a hood/ridge cap
- RH spot‑check set for the morning
- Droppings trays emptied tonight
You must be logged in to post a comment.