
Last updated: 08 September 2025 ~7 min read
Promise: In 8 minutes, you’ll know which varieties to buy, exactly when/how deep to plant, spacing for sets, and how to avoid bolting and mildew in a damp UK winter.
Plant UK winter onion sets in Sept–Oct at ≈ 2 cm depth with 10 cm spacing and 20–30 cm between rows; on clay, use shallow ridges.
Quick answer
- When
- Plant overwintering onion sets in September–October — while soil is still workable and before hard frosts.
- Depth
- Plant so the tip is just below the surface (≈ 2 cm of soil over the shoulder). On windy sites, a touch deeper — but don’t bury the necks.
- Spacing
- 10 cm between bulbs; rows 20–30 cm apart (go wider on damp plots for airflow).
- Varieties
- Senshyu Yellow, Radar, Electric (red), Snowball (white).
- Clay/wet
- Use raised beds or shallow ridges; mulch lightly once the soil cools; avoid waterlogging.
- Harvest
- Late May–June (earliest bulbs), main crop June–July.
Numbers align with RHS guidance and Gardeners’ World’s how-to.
Why this guide isn’t another list — and what you’ll get
A lot of overwintering‑onion content skims the surface. This guide shows the working in detail. It explains the UK timing logic. It describes exactly why 10 cm spacing works. You will learn how to win on clay with ridges. There is also a realistic timeline from September to harvest. It’s written from a Zone 8a UK garden, with steps you can copy this weekend.
What are overwintering onions?
Overwintering onions are hardy, autumn‑planted onion sets (Allium cepa). They are put in during September–October so they root before winter. These onions hold through cold spells and finish bulbing early the following late spring to early summer. In UK sources they’re also called winter onion sets, autumn onion sets or Japanese onions.
Why overwinter onions at all? (UK pay-off)
Overwintered onion sets (Allium cepa) bank time. They root in autumn warmth, hold through winter, then sprint in early spring. That means:
- Earlier harvest — you’re pulling bulbs weeks before spring‑planted sets.
- Smoother bed turnover — beds free up for July sowings (French beans, late carrots) or autumn brassicas.
- Lower input — no modules, no heat. Just good timing and drainage.
Caveat: they need airflow and drainage. If your plot puddles, treat drainage as non‑negotiable (raised beds, ridges, or containers).
Top 5 mistakes (+ fixes):
- Planting too deep on clay → rot. Fix: plant shallow (≈ 2 cm cover) on ridges.
- Crowding rows on damp beds → mildew. Fix: use 30 cm rows in winter.
- Skipping bird cover in week 1 → sets tugged out. Fix: fleece/net for 7 days; snip tails.
- Heavy mulch early → wet necks. Fix: light mulch only after soil cools; keep necks visible. Mulching with compost is a great idea. Here is a guide on how to produce your own compost. It also explains how to make leaf mould.
- Over‑size sets → more bolting. Fix: choose medium calibre sets; consider heat‑treated.
Pick a variety — Senshyu, Radar, Electric, Snowball (UK-proven)
Choose one yellow + one coloured for stagger and interest.
These four overwintering varieties are widely recommended by UK sources such as The English Garden.
| Variety | Skin | Best for | Bolt resistance | Storage | Notes |
|---|---|---|---|---|---|
| Senshyu Yellow | Yellow | Early, reliable crops | Good | Medium | Classic Japanese type; steady performer in most UK spots. |
| Radar | Yellow | Cold hardiness | Very good | Medium | A go‑to for exposed/allotment sites; copes with snaps. |
| Electric | Red | Colour + winter performance | Good | Short–Medium | Red bulbs; lovely sliced fresh; don’t expect long keeping. |
| Snowball | White | Mild flavour, bright skins | Good | Short–Medium | Clean, white finish; great for fresh use. |

Heat‑treated sets reduce bolting further (RHS explains why). If you’ve had bolting issues, pay the small premium.
Before you buy sets (quality checklist):
- Pick firm, dry bulbs; avoid soft, mouldy or sprouted sets.
- Prefer medium‑sized sets; very large sets are more prone to bolting.
- Choose named, overwintering cultivars; heat‑treated if bolting has bitten you before.
Timing: Aim for mid‑September to mid‑October. Push to late October only in milder/coastal gardens with fleece.
Terminology (UK): You’ll see overwintering onions, winter onion sets, autumn‑planted onions and Japanese onions used interchangeably. They all refer to hardy autumn onion sets planted Sept–Oct for a late spring/early summer harvest.
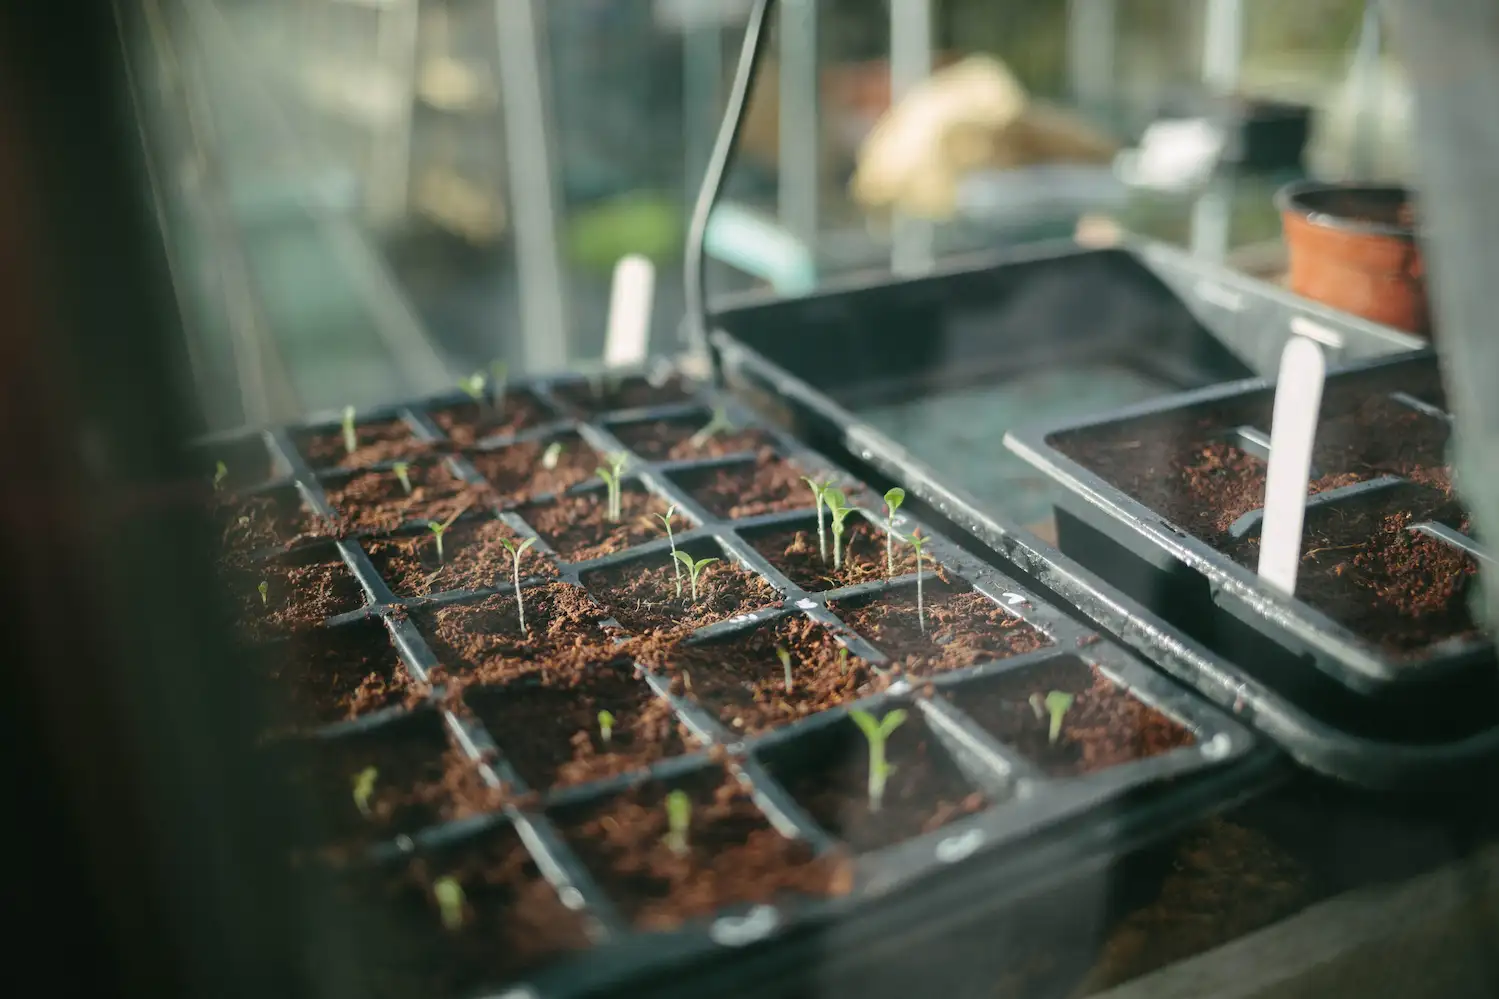
Sets vs seeds vs modules (which to choose in autumn?)
- Onion sets (best for autumn): fastest establishment, lowest risk in cold/wet, earliest harvest. Ideal for Sept–Oct planting.
- Seeds (not ideal for autumn): too late to start outside; save for late winter/early spring sowing under cover.
- Modules/seedlings: useful rescue if you missed the window or your soil is waterlogged (start under cover, plant out in spring).
Spacing & depth — 10 cm in-row; 20–30 cm rows; ≈ 2 cm cover

Onion sets are baby bulbs with a narrow neck. Too deep and they sit wet; too shallow and they can heave in frost. The sweet spot:
- Depth: tip just under the surface (≈ 2 cm cover over the shoulder). You should still feel the point near the surface.
- In‑row spacing (planting distance / how far apart): 10 cm gives dependable medium bulbs. Stretch to 12–15 cm if you prefer fewer, larger bulbs.
- Row spacing: 20–30 cm. On heavy/damp ground, go 30 cm for airflow.
At‑a‑glance table
| Parameter | Autumn‑planted sets (typical) | When to tweak |
| Planting depth | Tip just covered; ≈ 2 cm soil over shoulder | Go a touch deeper on windy, sandy beds; never bury the neck |
| In‑row spacing | 10 cm | 12–15 cm for larger bulbs / fewer plants |
| Row spacing | 20–30 cm | 30 cm on clay/wet plots for airflow |
Bed width → rows (at a glance)
| Bed width | Rows in winter | Notes | |
| 0.75–0.90 m | 2–3 | 2 rows on damp/clay; 3 rows only if very free‑draining | |
| 1.20 m | 3 | The UK standard; safest on most soils | |
| 1.50 m | 4 | Only if free‑draining and very airy; otherwise stick to 3 20–30 cm | 30 cm on clay/wet plots for airflow |
Make a 10 cm spacing jig (5 minutes)
- Cut a 60 cm strip of scrap timber.
- Mark at 0, 10, 20, 30, 40, 50, 60 cm.
- Use a dibber/dowel to press holes to ≈ 2 cm depth at each mark.
- Repeat along the row — quick, consistent spacing with cold fingers.
How many sets per metre? 10 cm spacing = ≈ 10 per metre per row. On a 1.2 m bed, plan 3 rows at 30 cm spacing (≈ 30 sets per metre of bed length). Only consider 4 rows if your drainage/airflow are excellent.
Quick maths for your bed (mobile‑friendly):
- 1.2 m bed × 2 m length: 30 × 2 = 60 sets.
- 1.2 m bed × 2.4 m length: 30 × 2.4 = 72 sets.
- Raised trough 60 cm × 120 cm: 2 rows × 12 sets ≈ 24 sets.
Do / Don’t (snippet‑friendly)
- Do: keep tips just under the surface; use 30 cm rows on clay; net for 7 days.
- Don’t: bury necks; cram 4 rows on damp beds; leave tails flapping for birds.
Next in the series: Plant garlic in autumn (UK).
Clay, ridges & winter survival — UK damp winter playbook
If you garden on clay or a winter‑wet site, do this and you’ll keep necks dry and bulbs sound:
- Open the top 10–15 cm with a fork; work in well‑made compost and a little grit. Avoid fresh manure (soft growth, disease risk). For structure that sheds winter water, see no‑dig winter prep.
- Shape low ridges (5–7 cm high) with shallow furrows between. Plant on ridge shoulders.
- Plant shallow — tip just under the surface (≈ 2 cm cover).
- Guard for a week with fleece/net to stop birds pulling sets.
- Mulch lightly after the first frosts (leaf mould or shredded straw). Keep necks visible; avoid heavy, wet mulches that hug moisture.
If your soil stays waterlogged, avoid autumn planting in the ground; start sets in modules indoors and transplant in spring (RHS guidance).
Key facts: Ridges 5–7 cm; rows 30 cm on clay; light mulch only.
Field note (mini experiment): Two rows on ridges vs two on flat. In my beds, ridges showed less winter yellowing and fewer losses after long wet spells. Try it and compare.
Check out our guide on how to build raise beds. A great way to grow if you have clay soil.
Containers — your insurance policy on a swampy plot
No shame in pots if your soil is soup in January.
- Container size: Go ≥ 45 cm wide/deep (deep troughs are great; RHS advises 45 cm+). Drill extra drainage if needed.
- Medium: Peat‑free, soil‑based compost + 10–20% grit/perlite.
- Layout: Keep 10 cm between bulbs. A 45 cm round comfortably holds 9–10 sets; a 60 cm trough holds 12–15.
- Position: Full sun; shelter from prevailing wind and splashback.
- Watering: Even moisture in autumn, sparingly in winter; don’t let pots sit on saucers.
Container counts (at a glance)
| Container | Internal size | Sets (comfortable) |
| Round tub | 45 cm Ø × 45 cm deep | 9–10 |
| Trough | 60 cm × 30 cm × 30 cm | 12–15 |
| Trough (large) | 100 cm × 35 cm × 35 cm | 20–24 |

Your month-by-month timeline (Sept–July)
September — Buy sets; prep bed; plant; guard from birds.
October — Finish planting; check drainage; string line rows before clocks change.
November — Growth slows; keep beds tidy; remove wind‑snapped leaves.
December–January — Hands off. Only re‑firm any frost‑heaved sets.
February — Light top‑dress with compost; in cold snaps, fleece during northerlies.
March — Hoe lightly between rows; watch for mildew in still, damp spells.
April — Bulbing starts; thin any bolters immediately (eat fresh).
May — Earliest pulls for fresh use; keep watering light and even if dry.
June–July — Main harvest. Lift when 80–90% of tops bend over naturally. Cure somewhere airy and dry for 10–14 days. Overwintered onions store until early winter — eat these first (RHS).
Late‑October rescue plan (milder areas)
- Plant under fleece/cloche to claw back lost heat and protect from wind (use 30–35 gsm in cold snaps; 17 gsm for light cover — see guide).
- Module‑start indoors (cell trays) for 2–3 weeks, then plant out on the next mild spell.
- Wider rows (30 cm) if your plot stays damp; airflow beats crowding.
Wondering what to do in October, watch our End of October – Garlic and Onions video. We also have tips on September and October vegetable gardening.
Troubleshooting: bolting, rot & downy mildew
Bolting (flowering prematurely)
- Why: Cold shock (vernalisation) + stress.
- Prevent: Plant on time; choose reliable winter cultivars (heat‑treated sets help — RHS); protect from hard snaps.
- Do now: Harvest that plant early; bolted bulbs don’t store well.
Read our guide on why onions bolt (and what to do)
Rot in winter
- Why: Waterlogging + buried necks.
- Prevent: Ridges/raised beds; shallow planting; light mulch only.
- Do now: Improve runoff; remove worst casualties; review bed shaping.
Downy mildew (grey‑purple patches, leaf collapse)
- Why: Cool, humid, still air.
- Prevent: Wider rows on clay; water soil, not foliage; rotate 3–4 years.
- Do now: Remove infected foliage; improve airflow; avoid overhead watering.
Note: there are no fungicides available to home gardeners for onion downy mildew — prevention and spacing matter most (RHS).
How-to: Plant a 3-row, 1.2 m bed (September weekend)
Workflow: Prep → Layout → Plant → Guard → Mulch
- Prep (20 min): Rake off debris; fork in 2 cm of compost; add a handful of grit per planting line on clay.
- Layout (10 min): Snap a string line; mark 3 rows at 30 cm; dib holes ≈ 2 cm deep every 10 cm.
- Plant (15 min): Drop sets point‑up; firm gently so the tip sits just under the surface.
- Guard (5 min): Net or fleece for a week to stop birds pulling the “tails”. You can also snip the papery tail after planting to make them less tempting (The English Garden and GrowVeg).
- Mulch (5 min): Once the soil cools, add a thin mulch without burying necks.
- You’ve completed Step 5 of 5 — bed planted and protected.
Result: A 1.2 m bed planted to ≈ 30 sets per metre, protected from birds and set up for early bulbs from late May.
Key numbers recap: 2 cm cover · 10 cm in‑row · 20–30 cm rows · ≥ 45 cm containers
FAQs: Overwintering onions in the UK
How deep do you plant onion sets (UK)?
About 2 cm of cover over the bulb’s shoulder with the tip just under the surface (don’t bury the neck).
How far apart should onion sets be planted (UK)?
10 cm in-row with 20–30 cm between rows; use 30 cm on clay for better airflow.
When do you plant overwintering onions in the UK?
September–October. In milder/coastal areas you can push to late October under fleece; in cold/wet sites, plant earlier in that window.
Can I still plant in late October?
Yes, in milder areas or under fleece/cloche. Expect a slightly later harvest.
How many sets per metre?
At 10 cm spacing: ≈ 10 per metre per row. On a 1.2 m bed with 3 rows: ≈ 30 per metre.
Do I mulch onions over winter?
Yes — lightly. Keep necks visible; avoid heavy, wet mulches that hold moisture against bulbs.
Why did my onions bolt?
Likely cold shock or stress. Use heat‑treated sets, plant on time, and protect during cold snaps. Eat bolted bulbs early; they don’t store.
Can I grow winter onions in containers?
Yes. Use ≥ 45 cm deep/wide containers, free‑draining compost and the same spacing. Keep them in full sun with good airflow.


You must be logged in to post a comment.